ASSEMBLY
INSTRUCTIONS
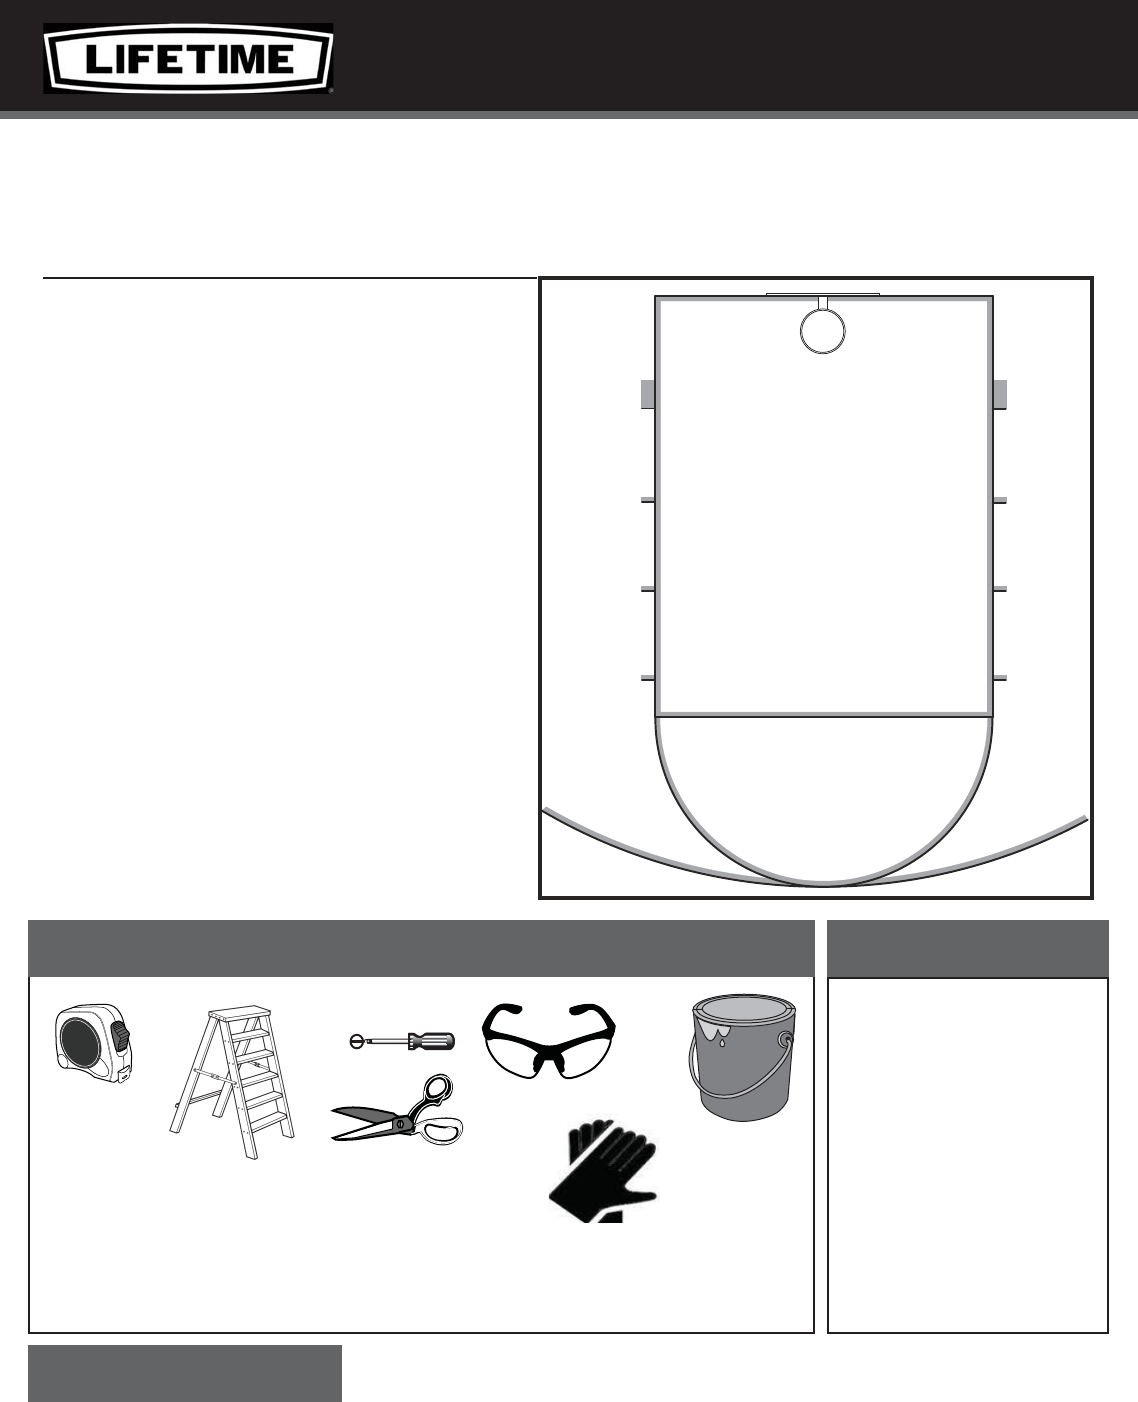
COURT MARKING
TOOL KIT
(1)
(1)
(1)
(1)
(1)
(1)
(1)
Lifetime
®
basketball accessories are designed to be
easy to apply and use. We strive to make assembly as
easy as possible without compromising quality.
Save this instruction in the event that the manufacturer has to be
contacted for replacement parts.
PLEASE READ THESE INSTRUCTIONS COMPLETELY BEFORE BEGINNING
TO MARK YOUR BASKETBALL COURT.
Recruit Friends and Family
Assembly should take 2 people about 1
hour to complete.
Lifetime’s assembly experts offer quick responses and great customer service.
Tools Required................................1
Parts List........................................2
Assembly Instructions.....................2
Call: 1-800-225-3865
7:00 am - 5:00 pm (Monday - Friday) MST
and 9:00 am - 1:00 pm Saturday MST
Web: www.lifetime.com/instructions
Live Chat: www.lifetime.com/instructions
NEED HELP? TALK TO US!
MODEL# AND PRODUCT ID (you will need both when contacting us)
Model Number: Product ID:
TOOLS REQUIRED TABLE OF CONTENTS
0900
COPY

2
COURT MARKING TOOL KIT
ID Item Description Qty
AA DA00900 Chalk Box 1
BB 525001 Crayon 1
CC 525003 2” Foam Paint Roller 1
DD 525004 Paint Roller Handle 1
EE DA01200 Powdered Chalk 1
CHOOSE A LOCATION
PARTS REQUIRED
ID Item Description Qty
1
1
1
1
1
Choose the location for your basketball court. You will need an area at
least 21’ long and 13’ wise in front of your basketball system to paint the
court. If you wish to include a 3-point line, the overal dimensions will be
21’ x 40’.
13’
21’
!
t 'PMMPXBMMJOTUSVDUJPOTXBSOJOHT
BOEDBVUJPOTPOUIFDIBML
DPOUBJOFSDBSFGVMMZ
1
1.1
1
1171151 11/9/2015
COPY

3
PREPARATION
X SECTION 1 (CONTINUED)
t Sweep and/or hose off the area where the court is to be located. If the area is hosed off,
allow it to dry completely before beginning to mark the court. The surface must be clean or
the paint will not stick properly.
t Using a screwdriver or key, pry the round cap off the end of the Chalk Box (AA) Figure 2A.
NOTE:The chalk used to mark the court lines will stain clothing, shoes, etc. Use caution to
avoid getting chalk on your clothing. We recommend that you use rubber gloves and safety
glasses at all times when handling the chalk.
t Locate the small plastic sqeeze bottle filled with Powdered Chalk (EE) and remove the cap
from the bottle. You may wish to trim the tip of the bottle about 1/8” to allow the chalk to
flow more easily (Figure 2B).
t Sqeeze approximately half of the contents into the end of the Chalk Box (Figure 2C).
t When the Chalk Box is full, snap the round cap back into place.
Figure 2A
Figure 2B
Figure 2C
AA
EE
1.2

4
DROP PLUM LINE
X SECTION 1 (CONTINUED)
NOTE: Regulation rim height is 10’ from the playing surface. To ensure your court is positioned
accurately, adjust your system to the 10’ setting before beginning. You will need a ladder to
complete this step if the rim is at the 10” height.
t Hold the end of the chalk line against the front of the backboard directly beneath the center
of the rim. It is important that you hold the string at the back edge of the rim for the most
accurate measurements.
t Pull out the string until the Chalk Box (AA) hangs just off the ground as shown (Figures 3A
and 3B.
t Allow the Chalk Box to hand until it stops moving. Using the Crayon (BB) make a mark on
the ground directly beneath the Chalk Box (Figure 3C)> This will be point A.
Edge of playing surface
Make first mark
A
AA
FIGURE
3B
FIGURE
3C
FIGURE
3A
WARNING
Use extreme caution when standing on lad-
ders to perform assembly steps. Follow all
warnings and cautions on the ladder. Failure
to follow all of these instructions could lead
to serious personal injury or property dam-
age.
1.3
1.1

5
MARK THE BASELINE END POINTS
X SECTION 1 (CONTINUED)
t Measure six feet to each side of Point A and mark Point B and Point C with the Crayon. To
ensure your line is straight, measure the distance from the edge of the playing surface at
Points A, B and C. The distance “X” should be the same at each point.
X
X
C
X
B
6'
6'
Edge of playing surface
A
t Hold the end of the chalk line at Point B. Pull the chalk line out at least 12 feet and hold
the line firmly against Point C as shown beloe. The line must be pulled tight between the
two points.
t Hold the chalk like and lift it a few inches off the ground. Have the other person repeat the
procedure near the other end of the line.
NOTE: If you didn’t get a clear line, roll up the chalk line and repeat the steps above. You must
reel the line back in after each line is snapped.
SNAP BASELINE
C
B
1.4
1.5

6
MARK FIRST SIDE
X SECTION 1 (CONTINUED)
t To mark the first side of the key, measure 15’ straight out from Point C (perpendicular to
the baseline) and make a small arc with the crayon.
t Measure diagonally from Point B to the mark you just made. The diagonal measurement
must be 19’ 3” to ensure the side of the key is perpendicular to the baseline (Figure 6A).
t Make another small arc at this point. The point where the two arcs intersect is Point D
(Figure 6B).
t Snap a chalk line from Point C to Point D.
15' - 0"
19' - 3"
C B
D
C
B
D
FIGURE 6A
FIGURE 6B
1.6

7
MARK SECOND SIDE
X SECTION 1 (CONTINUED)
t To mark the second side of the key, measure 15’ straight out from Point B
(perpendicular to the baseline) and make a small arc with the crayon.
t Measure diagonally from Point C to the mark you just made. The diagonal measurement
must be 19’ 3” to ensure the side of the key is perpendicular to the baseline.
t Make another small arc at this point. The point where the two arcs intersect is Point E.
t Snap a chalk line from Point B to Point E.
15' - 0"
19' - 3"
C B
D
E
1.7

8
FREE THROW LINE
X SECTION 1 (CONTINUED)
t Snap a chalk line from Point D to Point E.
t Measure along the line 6’ from Point D and mark Point F with the crayon. This is the center
point of the Free Throw Line.
6' - 0"
D
E
F
C B
1.8

9
MARK KEY CIRCLE
X SECTION 1 (CONTINUED)
t Have one person hold the end of the tape measure securely at Point F.
t Pull the tape measure out just beyond the 6-foot mark and lock it at this position (if your
tape measure doesn’t lock, hold it firmly at this position).
t Hold the crayon against the tape measure at the 6-foot mark and make an arc from Point D
to Point E as shown.
6' - 0
"
D
E
F
1.9

10
THREE POINT LINE (OPTIONAL)
X SECTION 1 (CONTINUED)
NOTE: The 3-point line will be located at the regulation NCAA distance from the rim.
t Locate Point A (the first mark you made).
t Measure straight out from this mark 15 inches into the key. You should end up directly
beneath the center of the rim. Make a mark here (Point G).
t Beginning at Point G, measure 19’ 9” straight out to the key circle. Point H should fall
exactly on the key circle as shown.
t Using the same technique used for thek ey circle, hold the crayon against the tape
measure and draw an arc all the way to the baseline on each side of the key.
Note: If your court is not wide enough for the full 3-point line, you may create a partial line for
shots at the top of the key as shown.
15 inches
H
G
A
T
o
B
a
s
e
l
i
n
e
19' - 9"
1.10

11
LANE MARKERS AND BOXES
X SECTION 1 (CONTINUED)
t Refer to the diagram below to mark the lane markers and lane boxes on each side of the
key. All markers and boxes extend 6 inches out from the side of the key, Mark them with
the crayon only. Do not use the Chalk Box.
1.11

12
PAINTING THE COURT
X SECTION 1 (CONTINUED)
Note: Always paint to the inside of the lines (toward the center of the key) to ensure your
2-inch lines are in the correct position. Although the Paint Roller Handle (DD) can be used with
an extension pole, it is not recommended. Using an extension handle will allow the roller to
“wander,” resulting in crooked lines.
t Mix your paint thoroughly according to the manufacturer’s directions.
t Pour a small amount of paint into the bottom of a small plastic container or paint tray.
t Slip the 2” Foam Paint Roller (CC) onto the Paint Roller Handle (DD).
t Apply paint to the Roller. You may wish to practice using the roller by painting the lane
boxes before beginning on the straight lines. Use a smooth, continuous motion for a clean
line.
t When painting the lane markers, always paint on the side of the line closest to the baseline
as shown.
Paint must be applied
on the baseline side
of the lane markers.
t Allow the paint to dry for at least 24
hours.
t After the paint is completely dry, sweep
off any excell chalk.
YOUR NEW BASKETBALL COURT IS NOW READY FOR PLAY!
1.12
!
t 'PMMPXBMMJOTUSVDUJPOTXBSOJOHT
BOEDBVUJPOTPOUIFDIBML
DPOUBJOFSDBSFGVMMZ

13
High School Basketball Court Dimensions

14
College Basketball Court Dimensions

15
NBA Basketball Court Dimensions

16
www.lifetime.com
Or call: 1-800-424-3865
To purchase accessories or other Lifetime
®
products, visit us at:
XXXMJGFUJNFDPN
O llame al: 1.800.424.3865
Para comprar accesorios u otros productos Lifetime
®
EUA, visítenos en:
XXXMJGFUJNFDPN
ENHANCE YOUR LIFETIME
®
PURCHASE BY ADDING ACCESSORIES OR OTHER GREAT PRODUCTS
MEJORE SU COMPRA LIFETIME
®
Y AÑADA ACCESORIOS U OTROS PRODUCTOS EXCELENTES
Ou appelez-nous au 1-800-424-3865
Pour acheter des accessoires ou des autres produits Lifetime
®
, rendez-vous une visite à :
XXXMJGFUJNFDPN
AMÉLIOREZ VOTRE ACHAT LIFETIME
®
EN AJOUTANT DES ACCESSOIRES OU DES AUTRES PRODUITS
