
Uses for GooGle GroUps
Email lists for:
• Project Teams
• Programs
• Committees
• Departments
My GroUps
• Access groups from the apps grid:
• If your groups list is empty, switch to your ND groups by
clicking nd.edu
• Edit your group email preferences from My groups
CreatinG a GroUp
1. Click on
2. Type the name of the group.
3. The group email address will be automatically generated
based on the group name.
◦ This is the email that you will use to communicate with
every member of the group.
◦ You can edit the generated email.
◦ Call the OIT Help Desk (1-8111) to get a custom group
email without the [email protected] requirement.
4. Give the group a description. For example, “Project Team
Discussion Group”
5. For Group type select Email list from the dropdown
6. Set the basic permissions: deselect All organization
members from each of the three categories.
◦ View topics: All members of the group
◦ Post: All members of the group
◦ Join: Only invited members
7. Click
8. A dialog box will pop up informing you the group has been
created. Click Okay.
9. The screen will change to your identity settings. Click
settinG eMail options
The email options for the group are located in the group’s
settings:
1. In the top right area of your group’s main page, click
Manage.
2. In the left navigation page, click Settings.
3. Under the Settings heading, click Email options
Remove Footers
1. Uncheck all the options for Email Footer.
2. Click Save.
Enabling Automatic Replies
1. If you would like to set up an auto-reply for responses,
check the Enable... box next to the group(s) that will get
an automatic response.
2. Type the response in the box that appears below.
3. Click Save.
Responses to Group Emails
1. From the Post replies dropdown, select where you would
like replies to go
2. Click Save.
tUrn off eMail threadinG
1. In the left navigation pane, click Information.
2. Under the Information heading, click Web view
customization
3. Uncheck the box next to Conversation mode to disable
threads.
4. Click Save.
allowinG MeMbers oUtside of nd
1. In the left navigation pane, click Permissions.
2. Under the Permissions heading, click Basic permissions
3. Check the box next to Allow new users not in nd.edu.
addinG MeMbers
1. In the left navigation pane, click Members.
2. Under the Members heading, click Direct add members
3. Enter the email addresses of the members you’d like to
add in the top box.
4. Type a welcome message in the lower box explaining what
the group is and why they have been added to it.
5. Click Add.
Google Groups at Notre Dame
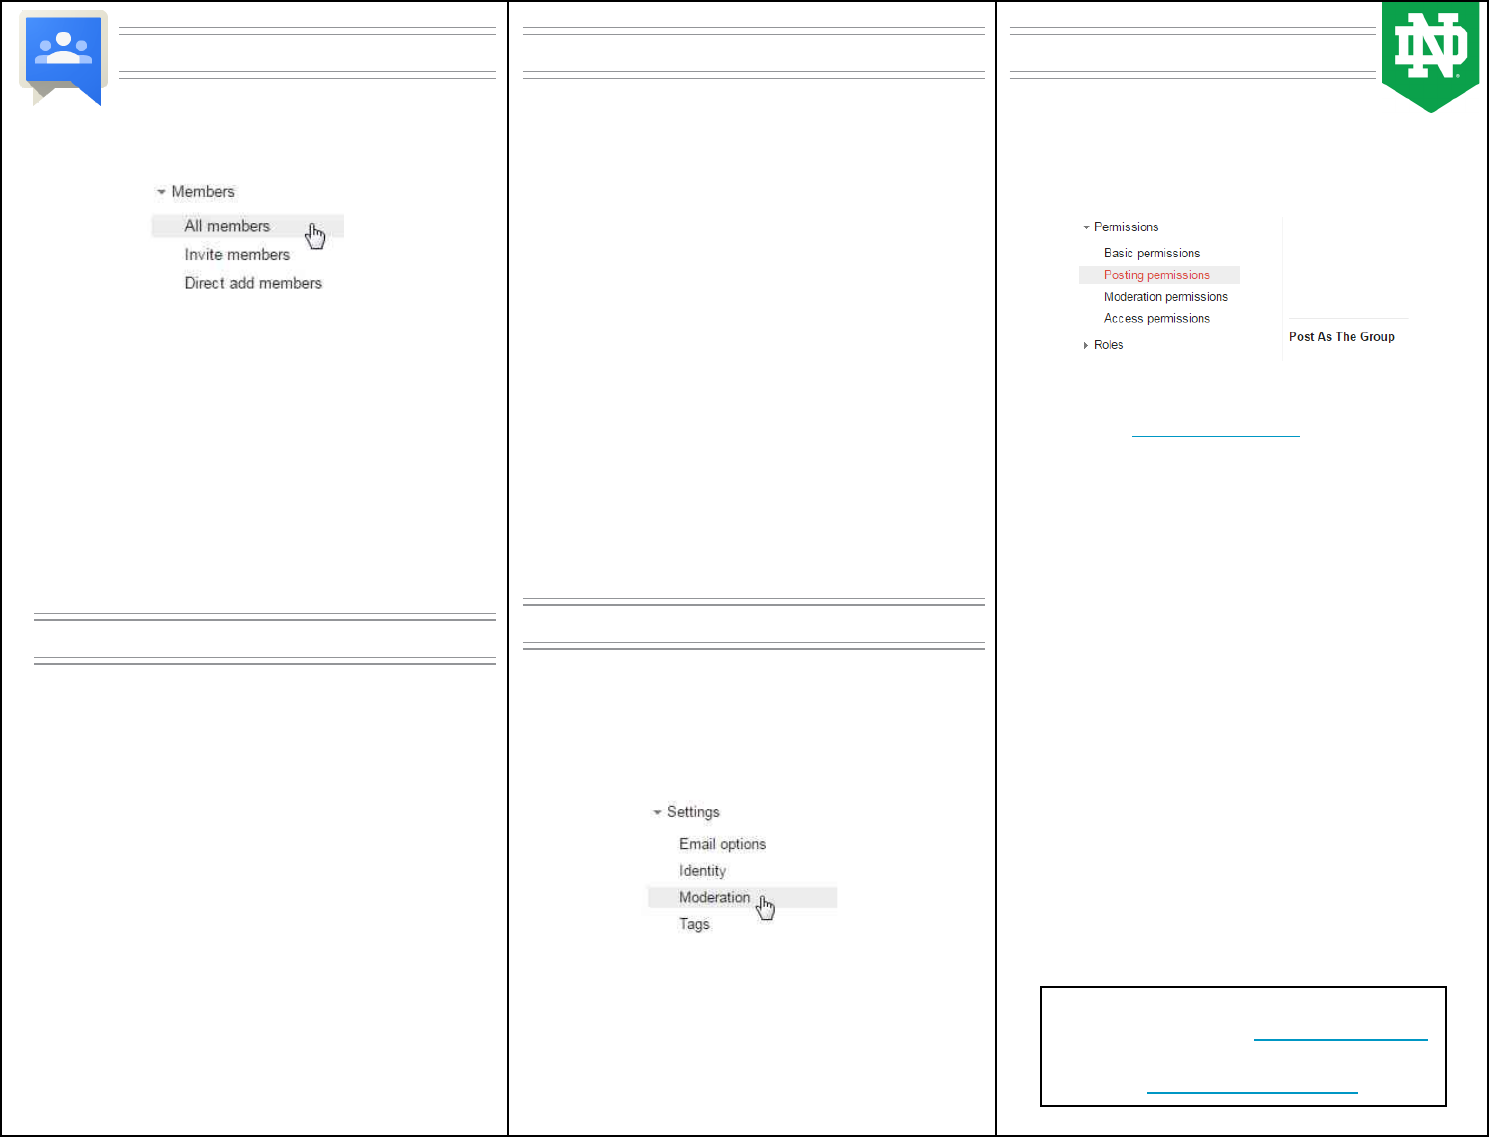
other featUres
Post as group
By default, owners and managers can send
messages as the group (instead of from their email).
This setting can be updated in Manage > Permissions >
Posting permissions > Post As The Group
To send messages as the group, you will need to update your
account settings in Gmail. Instructions for doing this can be
found online at http://bit.ly/GroupSend.
With Google Calendar
Inviting the group email address to a meeting or to an event
calendar will automatically invite every member of the group.
With Google Drive
Like with Calendar, les and folders shared with the group
email address will be shared with every member of the group.
Collaborative Inboxes
These are groups that allow emails sent to the group email to
be assigned to group members. Some of the unique features of
a collaborative inbox include:
• You are unable to mark a message as complete until it has
been replied to
• Can label/tag messages, which lets you lter messages
• Filtering messages by:
◦ Team member assigned to
◦ Status (complete or incomplete)
◦ Date
◦ Tag
If you are interested in setting up a collaborative inbox for your
team, request a consultation from the OIT Help Desk (1-8111).
ViewinG and editinG MeMbers
Members can be viewed and edited at any time.
1. In the left navigation pane, click Members.
2. Under the Members heading, click All members
3. In the list, you will see the name and email of all current
members. Check the box to the left of the person you
wish to modify.
4. In the Actions drop-down menu, select the action you wish
to perform with this group member:
◦ Add to role > Owner to set as an owner (groups can
have multiple owners)
◦ Add to role > Manager to give someone full editing,
posting, and viewing permissions
◦ Remove from group to remove a member
◦ Change delivery setting to change the type of email
(if any) a member receives
ManaGinG deliVery settinGs
Managers and owners can modify the delivery settings for all
members of the group.
1. In the left navigation pane, click Members.
2. Under the Members heading, click All members.
3. Check the box next to Display name to select all group
members in the list.
4. In the Actions drop-down menu, mouse over Change
delivery setting to see a drop-down of the four email
options.
5. Select what type of email you want all members to
receive:
◦ No email: no members will receive email
◦ Abridged email: all members will receive one
summary email per day
◦ Digest: all members will receive one summary email
for every 25 new messages
◦ All email: all members will receive every email
indiVidUal MeMber perMissions
Managers and owners can modify the posting permissions for
individual members of the group.
1. In the left navigation pane, click Members.
2. Under the Members heading, click All members.
3. Check the box to the left of the person in the list you wish
to modify.
4. In the Actions drop-down menu, mouse over Set posting
permission to see a drop-down of the four permission
settings.
5. Select what type of posting permission you want the
member to have:
◦ Default group policy: set at group creation (allow)
◦ Override – Allow posting: allow member to post
regardless of group settings
◦ Override – Disallow posting: block member from
posting regardless of group settings
◦ Override – Moderated posting: member’s messages
must be approved by a manager/owner before being
posted to the rest of the group
ModeratinG MessaGes
This setting makes it so messages don’t go out to the group
until a group owner has approved them. This is useful for
groups that are published to the organization.
1. In the left navigation pane, click Settings.
2. Under the Settings heading, click Moderation
3. Check the box next to which type of messages you would
like to approve before they are sent out to the group:
◦ Moderate all messages
◦ Moderate messages from non-members
Messages from individual members can be also be moderated.
This setting is detailed above in Individual Member
Permissions.
11/22/2016 ©University of Notre Dame
For training videos, FAQs and links to more
Google resources, go to http://oithelp.nd.edu
To browse training classes, go to
http://oit.nd.edu/training
